

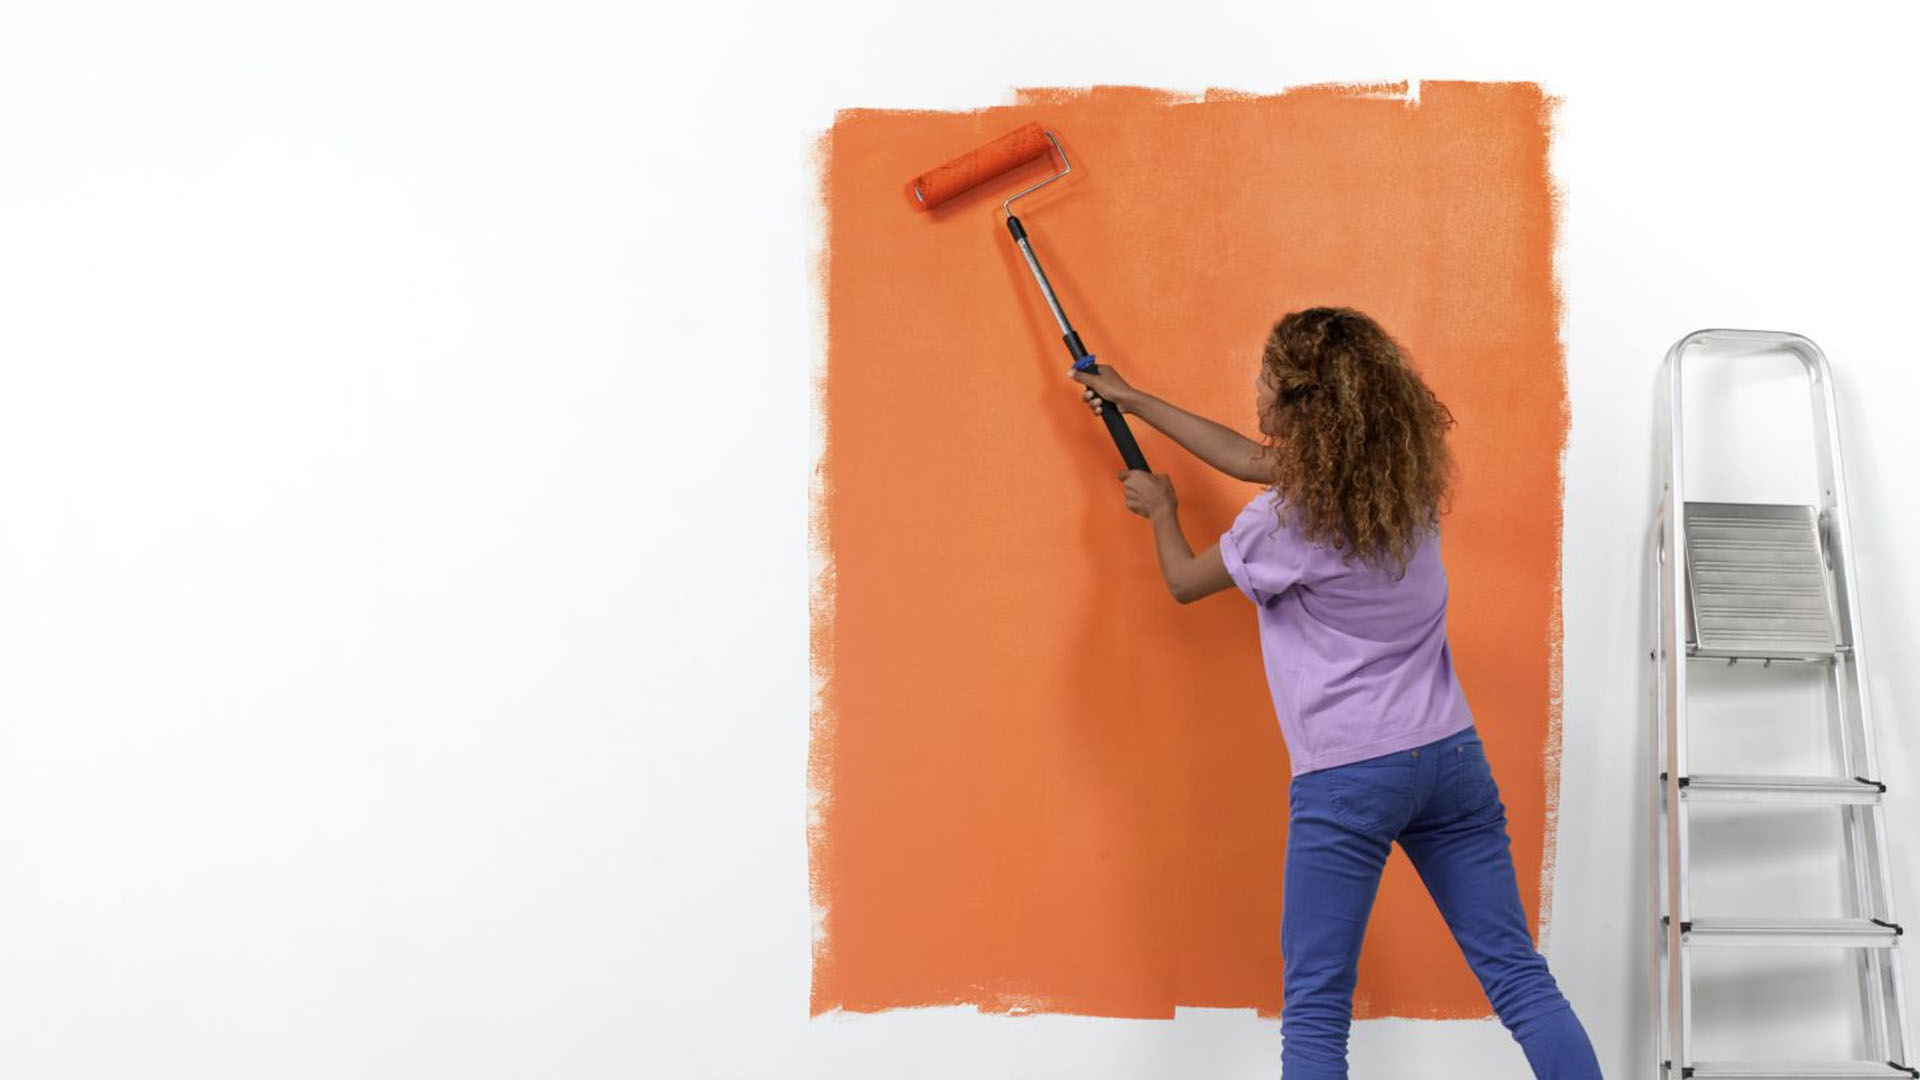
Painting a room might look like an easy job, but you can only make a success of it if you prepare well enough. We’re about to tell you everything you ever needed to know about how to paint a room.
PREPARATION IS KEY
To get a great finish, you must start with good preparation. Remove what furniture you can from the room and protect everything else with dust sheets.
Dust sheets
Plastic dust sheets can be slippery and tend to spread any spilled paint so you might be better using a cotton dust sheet that will soak up the paint, or better still, a cotton dust sheet with plastic backing will give double protection. Have a roll of paper towels or wipes to hand for any spills.
Surfaces
It’s important that the surfaces you’re planning to paint are in sound condition. Check existing wallpaper, paint or varnish on your walls, window frames, doors, and ceilings. Wallpaper or peeling paint should be stripped, nails or fixings removed and any cracks and holes filled in.
Once the filler has dried, use sandpaper to smooth the area. Make sure surfaces are clean, dry and free of any dust or dirt then use low-tack masking tape to cover and protect light switches, plug sockets and skirting boards. Remove the masking tape once you’ve finished painting each surface to ensure you get a clean line.
If you’re planning on painting a wooden surface, the same principle applies – it’s important to ensure the area is clean and sanded down to a smooth finish before you begin.
ORDER OF BUSINESS
For the best results paint your room in the following order:
1. Start with the ceiling, as it’s the messiest and most awkward surface to work on and paint is likely to spray onto the walls.
2. Then move on to painting wall edges around light switches, skirting boards, and corners by using a 1½ or 2-inch brush. This is called a cutting-in.
3. Paint an undercoat on any wood surface such as doors and window frames.
4. Then paint your walls but remember to finish one wall at a time to avoid paint drying out and leaving uneven tide marks.
5. Once your walls are complete, go back to add a final coat of paint to your woodwork.
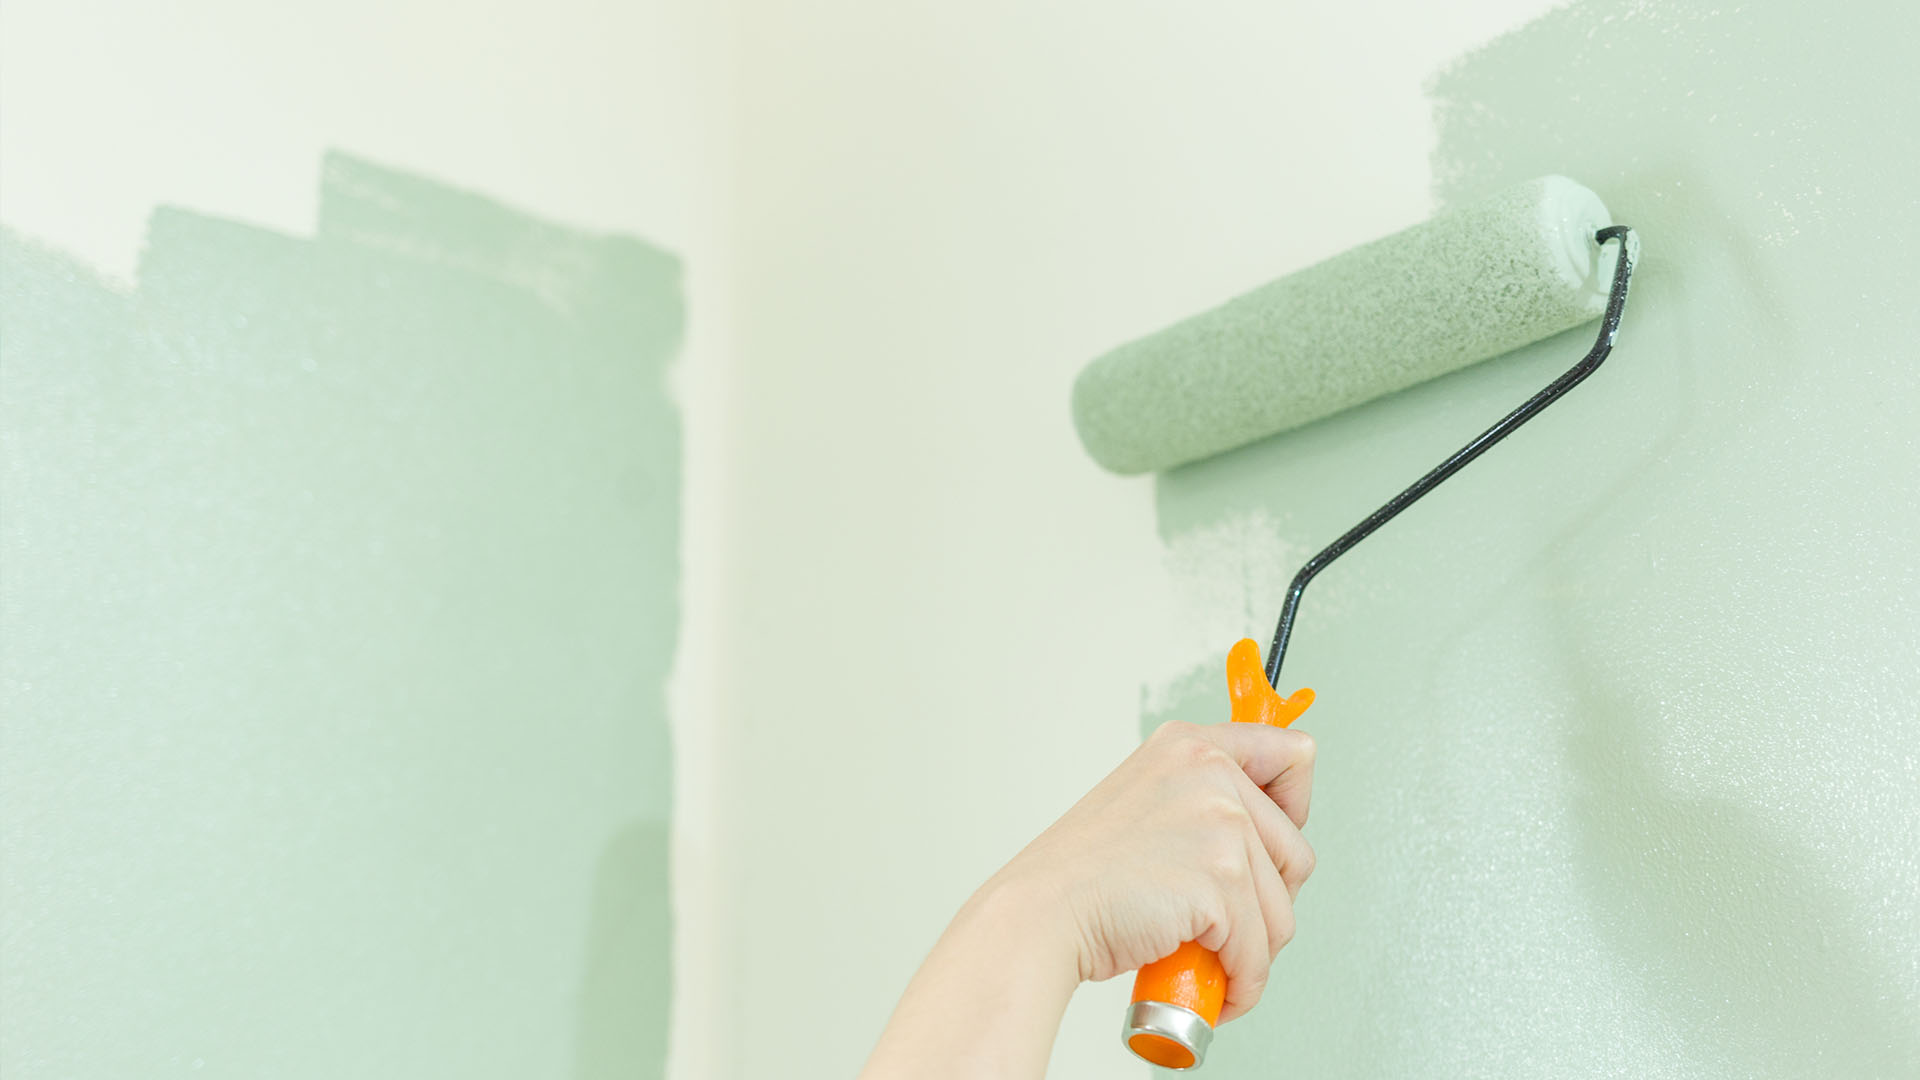
Painting large areas
Use a 4-inch brush or a 9-inch roller. Roll in multiple directions at a steady speed, applying even pressure so that you get good coverage. Rolling too fast will cover you in paint spray!
Window frames and sills and skirting boards
Use a 1-inch brush or smaller, or an angled window brush for greater control. For windowsills, flat panels and skirting boards, use a 4-inch mini roller for gloss paint or varnish. Medium-sized brushes measuring 2 to 3 inches are good for painting all types of flat surfaces.
THE RIGHT TOOL FOR THE RIGHT JOB
Paintbrushes
When choosing the perfect paintbrush to use, it’s worth considering whether to use one with synthetic filaments, natural bristles or a combination. Synthetic filament brushes are best for use with water-based emulsion and gloss paint. Natural bristle brushes, on the other hand, perform well with oil-based products. Brushes with a combination of natural bristle and synthetic filaments make good all-rounders.

Rollers
Types of roller include short, medium and long pile. Short-pile rollers perform best on flat surfaces such as newly plastered walls where they’ll give a smooth, even finish. Medium-pile should be used with previously painted or slightly uneven surfaces. Long-pile rollers are best when used with rough, textured or exterior surfaces.
Always remember to rinse your roller sleeve and allow it to dry naturally before use to remove any residual fibers so they don’t come off in your paint.
Combining great quality paint and the correct, high-quality brush or roller reduces the chances of needing multiple coats of paint, takes less effort and ensures a good finish.
AFTERCARE
If you look after your brushes properly, you’ll find they can last a lifetime. At the end of your project, wipe as much excess paint as possible onto paper towels, then check the manufacturers’ guidelines for cleaning them – it will differ for water-based and solvent-based paints. Everything should be cleaned carefully and thoroughly, then left to dry completely before being stored.
Brushes should be left to dry flat or with their bristles hanging down. If possible, store them in their original packaging to ensure the bristles are kept straight. Alternatively, they can be wrapped in paper.
If you plan to continue painting the next day, there’s no need to clean your brushes – simply wrap them tightly in a plastic bag or cling film, and they’ll be ready to use.


